


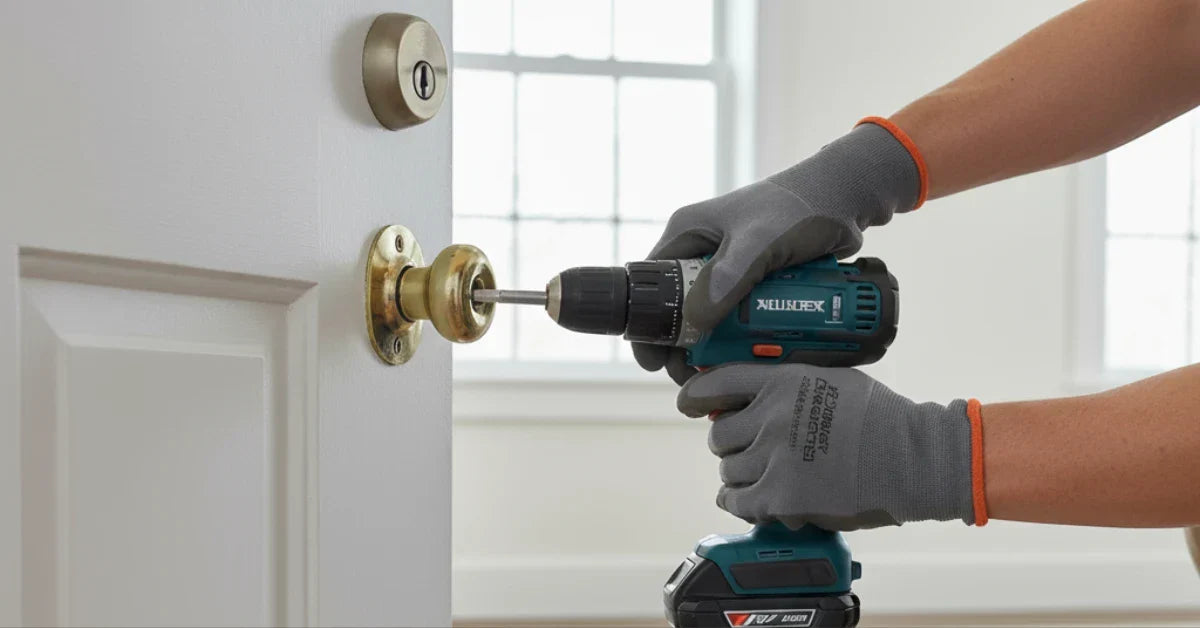
Door handles are small details that make a significant impact. Whether your handle is broken, outdated, or you want to upgrade your home's style, replacing it is one of the easiest DIY projects you can do. The best part? You don't need special skills or expensive tools. In this guide, you'll learn how to replace a door handle step by step, ensuring your door looks and works perfectly in no time.
👉 Looking for an upgrade? Shop our handmade door handles crafted with style, quality, and durability at better prices than big box stores.
Tools and Materials You'll Need
Before you begin, gather everything so the process goes smoothly:
- New door handle set (knob, lever, or locking handle depending on your needs)
- Screwdriver (usually Phillips-head)
- Tape measure (to check hole and latch size)
- Optional drill (for stubborn screws or adjustments)
👉 Pro Tip: Make sure you purchase a handle that matches your door type—interior handles are different from exterior ones, and some come with locks while others don't. Check out our handmade interior door handles for a stylish and functional upgrade.
Step 1: Remove the Old Door Handle
- Locate the screws holding the current handle in place.
- Use your screwdriver to loosen them.
- Pull both sides of the handle apart and remove them from the door.
Some door handles have hidden screws covered by a small plate. If that's the case, use a flat tool to pop off the plate before unscrewing.
Step 2: Take Out the Latch and Strike Plate
The latch is the small metal piece on the side of the door that slides into the frame.
- Unscrew the latch plate from the edge of the door.
- Pull the latch mechanism out.
- Remove the strike plate (the matching metal piece on the door frame).
Replacing these parts ensures your new handle works smoothly and doesn't get stuck.
Step 3: Prepare the Door for the New Handle
Now that the old hardware is removed:
- Wipe down the area to clear away dirt or wood shavings.
- Check that the new latch and handle line up with the existing holes.
- Measure the backset—the distance from the door's edge to the center of the handle hole. Most handles fit a backset of either 2-3/8" or 2-3/4".
If your new hardware doesn't fit, you may need an adjustable latch or slight modifications.
Step 4: Install the New Latch
- Insert the new latch into the side hole of the door.
- Ensure the beveled side faces the door frame (this allows the door to close easily).
- Screw the latch plate securely to the door edge.
Step 5: Attach the New Door Handle
Now it's time to bring your door back to life!
- Insert the exterior side of the handle through the latch.
- Line up the interior side and push it into place.
- Insert the screws and tighten them firmly.
Check that the handle turns smoothly. If it feels tight or wobbly, adjust before fully tightening.
Step 6: Install the Strike Plate
- Position the new strike plate on the door frame where the latch meets.
- Screw it into place.
- Test by closing the door to ensure the latch clicks into the strike plate without resistance.
Testing and Adjustments
After installation, test the door handle several times:
- Does the handle turn easily?
- Does the latch slide in and out smoothly?
- Does the door close and stay shut?
If not, try tightening the screws, adjusting the strike plate position, or re-aligning the latch.
Tips and Troubleshooting
Even though replacing a door handle is simple, you might run into minor issues:
- Handle feels loose: Tighten screws or use longer screws for a better grip.
- Latch doesn't line up: Adjust the strike plate slightly up or down.
-
New handle doesn't fit: Check that your door's hole size matches standard dimensions (usually 2-1/8").
Safety and Maintenance Advice
A new handle improves convenience and boosts security—especially for exterior doors. To keep your handle in top shape:
- Check and tighten screws every few months.
- Clean with mild soap and water (avoid harsh chemicals that damage the finish).
- If it's a locking handle, lubricate the mechanism occasionally for smooth use.
👉 Want something unique? Browse our handcrafted door handles for designs that combine durability with style.
FAQ: How to Replace a Door Handle
Q1. How long does it take to replace a door handle?
Usually about 15–30 minutes. Even beginners can handle it quickly with the right tools.
Q2. Do I need to drill new holes to replace my door handle?
Not usually. Most modern door handles are made to fit standard pre-drilled holes. If your door is older, you might need an adjustable latch.
Q3. Can I replace just the handle without changing the latch?
Yes, but replacing the handle and latch together is recommended for the best performance. Luckily, all our door handle sets include both pieces for a perfect fit.
Q4. What type of door handle should I choose—knob or lever?
It depends on preference and accessibility. Levers are easier for kids, older people, and people with limited hand strength. Explore our lever-style handles for practical elegance.
Q5. Can I install a locking handle on an interior door?
Yes! Locking handles are great for bathrooms or bedrooms. Ensure you pick the right type—privacy locks for bedrooms/bathrooms or passage sets for regular doors.
Conclusion
Replacing a door handle is a quick, beginner-friendly project that can instantly refresh your home. Whether upgrading for style or replacing a broken handle, following these steps makes the process stress-free.
Now that you know how to replace a door handle, you can confidently handle this DIY task. If you're ready for a stylish upgrade, check out our handmade door handles — crafted carefully, built to last, and priced better than the big brands.



Leave a comment